Database Update
When a database is opened and an internet connection is available Wildlife Recorder 4 will check to see if any species taxonomy update is available for the database.
If an update is available the following screen will be displayed.
if you wish to continue opening the database but do not want to update at present then click the close button or press the ESC key.
If you want to skip the update and not be alterted to again click on the Skip Update button.
Click the View Changes button to see a list of changes which have been made to the taxonomy.
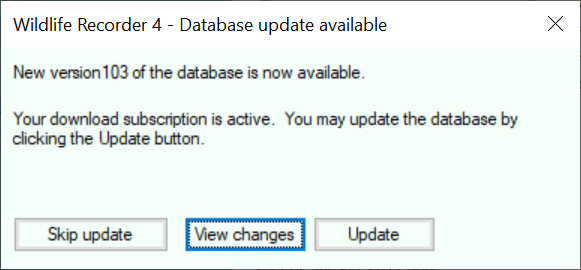
If you want to update your database with the latest taxonomy click on the Update button. The update file will be downloaded from the Wildlife Computing server. When the download has completedthe following screen will be displayed.
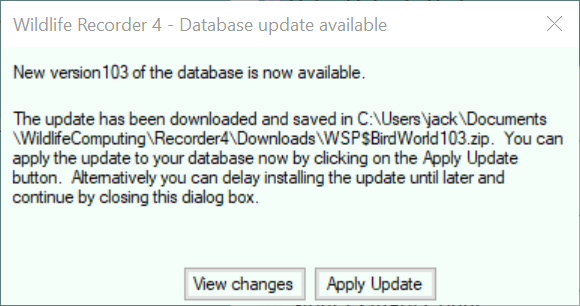
Click the Apply Update button to update the species taxonomy in your database.
A confirmation message is displayed.
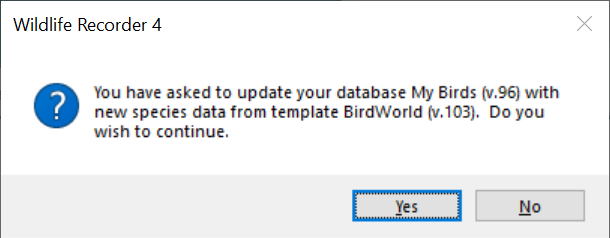
Click the Yes button to proceed with the update. You will be asked if you want to backup your data before proceeding.

We recommend that you click the Yes button to perform a backup if you have not done so recently.
The update will be applied the progress is shown by a progress bar. On completion of the update a confirmation message will be displayed.
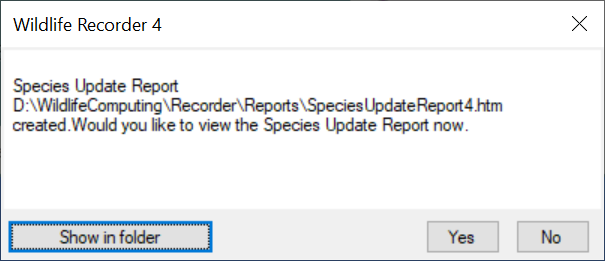
An update report has been produced and can be viewed by clicking the Show in folder or Yes button.
A final message is displayed asking whether you want to validate the species in your sightings. The validation is able to detect if species have been recorded which do not normally occur in the area to which the sighting has been attached. This can happen after a species update as a result of splits.

For more information about Sightings Validation see Sightings validation
Additional Languages
If you have added any additional databases to your databases these need to be updated after a species update. To update each language follow these steps:
- Open your updated database.
- Click on Show advanced functions.
- Click on Select taxonomy and language.
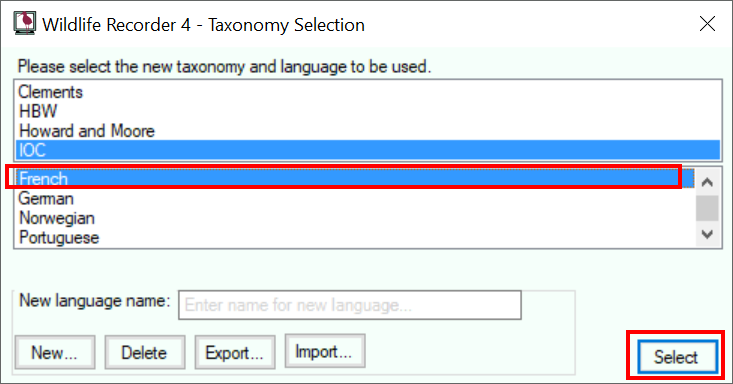
- The Select Taxonomy form will be displayed:
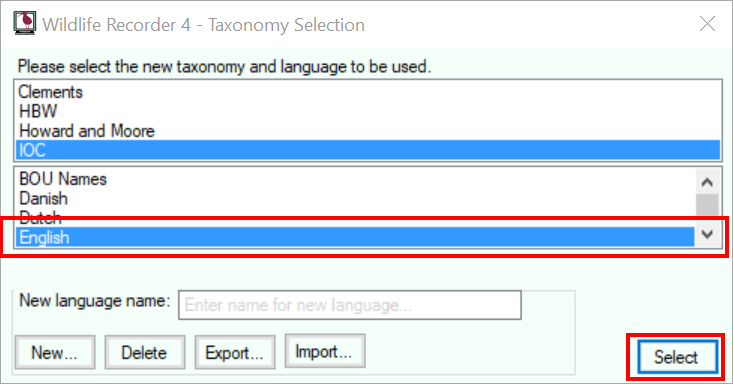 If it is not already set to "English" then select English and click the Select button.
 - Click the Import button.
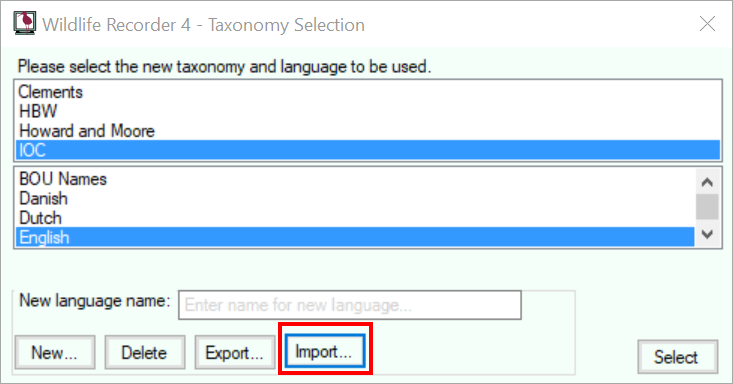
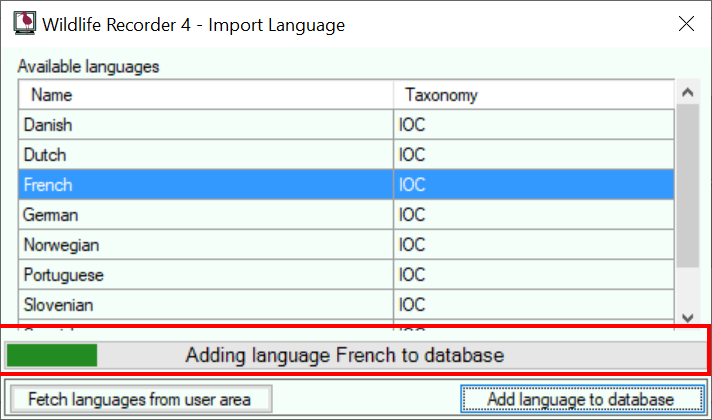
- The Import Language form will be displayed.
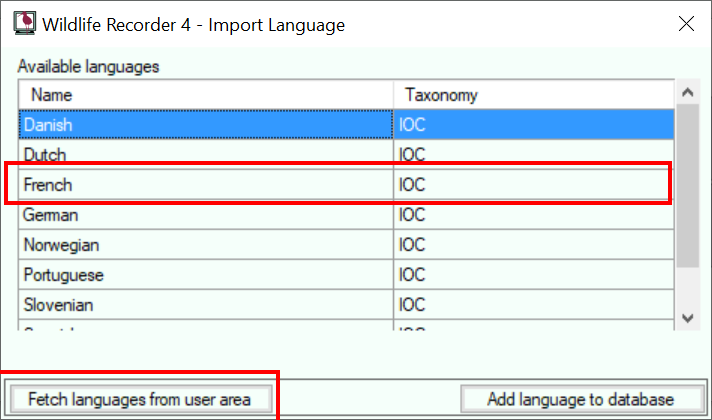 Before updating the first language click the Fetch languages from User Area button, Theis will fetch the updated species names from the server, you need only do this for the first language you are updating.
 - Select the language you want to update and then click the "Add language to database" button.
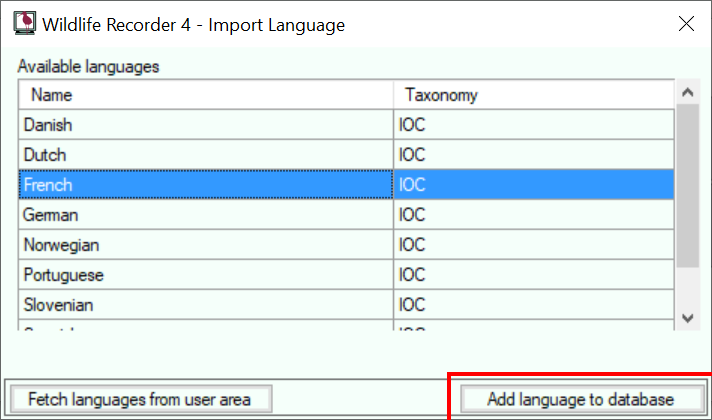
- The import will start and a progress bar is displayed.
- Repeat steps 5 to 8 for each language to be updated.
- Reset your language to your normal language.
Important Note for Nature Lister Users
If you use Nature Lister you will need to reload your workspaces to your device(s) after you have applied the species update to your WR4 database. Please undertake the following steps:
- Export any outstanding trips from Nature Lister and import them into WR4.
- Backup your WR4 databases.
- Apply the new species update to your WR4 database.
- Upload your workspaces from WR4 to the cloud server.
- Import the new workspaces to your device(s).